I earned my first amateur radio license, the gateway Technician ticket, in March of 2002 at the age of 37. It had been a lifelong goal to become a ham radio operator every since the radio bug first bit back in the 1970s when I spent countless hours in my grandfather’s radio/TV workshop melting solder and into the early 1980s when C.B. radio was the craze and I first discovered the wonders of shortwave radio listening.
Had I pursued my dream in earnest back then, the entry level license I would have studied for would have been the Novice license, requiring me to pass both a written exam and a 5 word per minute Morse Code exam. However, that era ended in 2000 when the FCC stopped issuing the Novice license.
In 2002 when I was first licensed [as KB1IAR], although I did not need to pass a Morse code exam for the Technician license, I did need to pass the 5 WPM Morse code exam along with a written exam in order to upgrade to General class ticket which brought with it coveted HF privileges.
I passed the 5 WPM Element 1 Morse code exam along with my Element 3 written exam to upgrade to General a few months after earning my Tech, and a little over a year later I passed Element 4 to earn my Amateur Extra class license.
In earlier times, a ham radio operator needed to pass a challenging 20 WPM Morse code exam to upgrade to Extra class. Many older hams who worked so hard to clear this hurdle back in their day continue to sneer at us 21st century Extra class licensees, referring to us as “Extra Lites” while bitching and moaning about how licensing exams have been dumbed-down.
In 2003 the International Telecommunications Union ended the international Morse code requirement for an amateur operator to qualify for transmitting privileges on frequencies below 30 MHz and in December 2006, the FCC retired the Element 1 exam, eliminated all Morse code testing for US amateur radio licensees.
In the nearly 15 years since the Morse code exam has been gone, you might expect to find the CW bands dead, but I’m happy to report that Morse code remains a very popular operating mode today as amateurs like me are still drawn to and enjoy using Morse. It turns out that sending and copying code is a fun and worthwhile pursuit and ham radio operators are continuing to learn and use the code, not because they have to, but because they want to!
So given that there is a hunger for hams who have no code expertise to learn code, I hear the same question in a variety of amateur radio communities – either local clubs or online – “What is the best way to learn Morse code?”
When I was studying the code years ago for my General upgrade, I listening to Morse Code instruction lessons on cassette on my Walkman. The ARRL recorded code lessons, which are still available on CD, did an adequate job of teaching me to memorize the 26 letters, 10 digits, and various pro-signs at the dreadfully slow 5 WPM – sufficient enough for me to pass my Element 1 exam.
While it helped me earn my license upgrade, those recorded lessons did little to prepare me for operating CW on air. For the next several years I looked for other tools to improve my Morse skills and up my speed. These included online tools and smart phone apps.
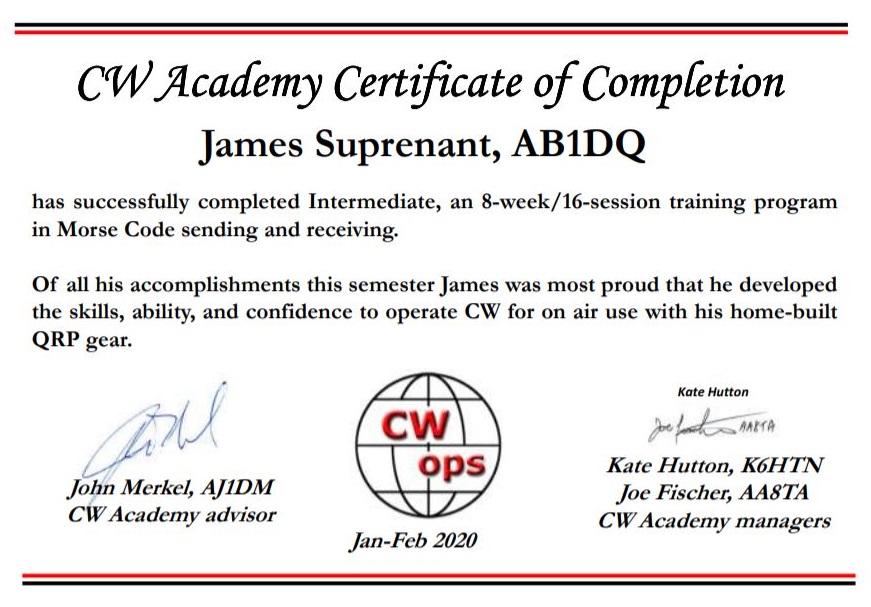
Then I discovered CW Academy, a three tier interactive Morse code instructional class offered by the CWops organization. The classes are offered in 3 levels – Basic, Intermediate and Advanced and are held online via conferencing software such as Zoom. You meet twice a week with your adviser and several of your peers peers who are more or less at the same level of ability.
Classes typically meet online for an hour two times a week over an eight week semester. The course requires students to commit themselves to the program and there is nightly homework assigned so that you learn by immersing yourself into CW.
Several tools are used for homework assignments including MorseRunner and RuffzXP – two excellent interactive apps that simulate CW contesting. Nightly homework assignments also included listening to recorded sample QSOs and short stories intended to aid in developing good head copy skills.
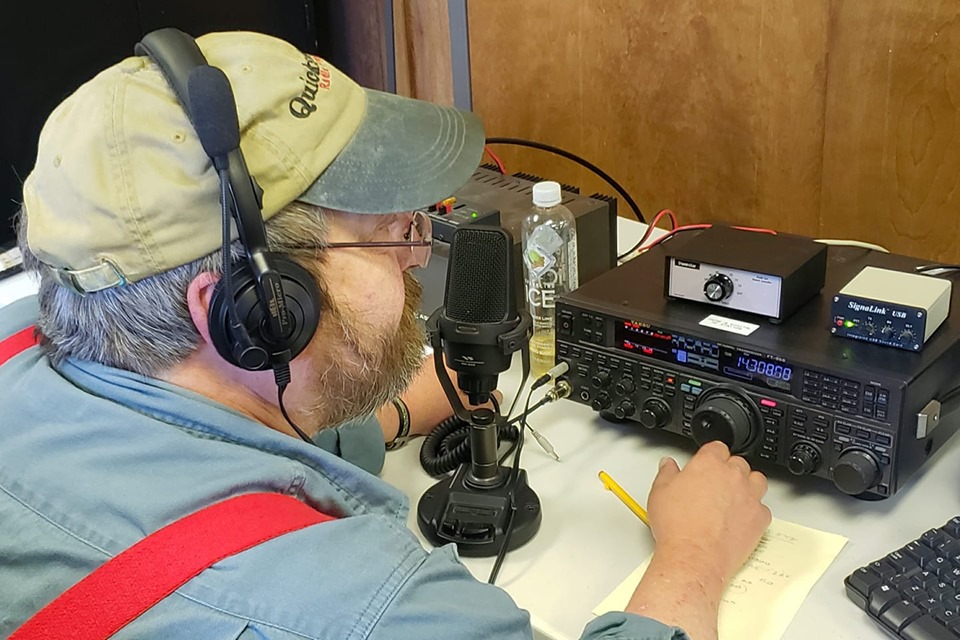
Tonight I completed the CWAI (Intermediate) level course, and in all honesty, this is the second time I have taken the second level CW Academy course. I believe the key to becoming a good CW operator is to constantly use your skills – on air ideally, but by listening to code whenever you can. The Intermediate level course focuses on head copy, something I have always struggled with, but am becoming better at.
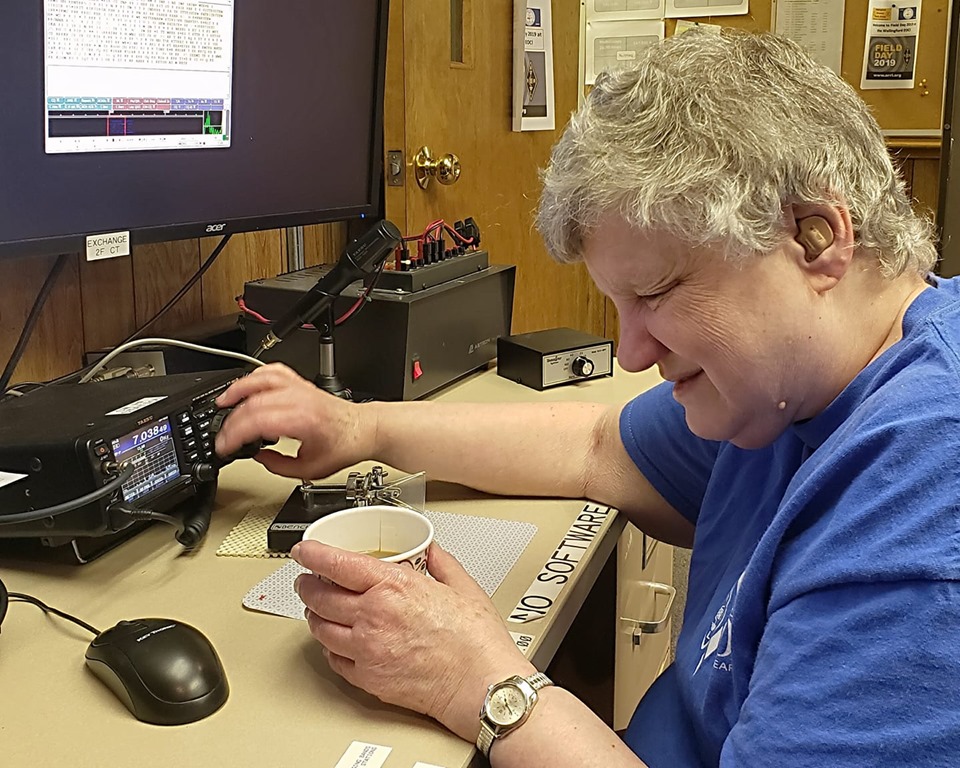
Our instructor this semester was John, AJ1DM, a CWops member and a great teacher. John challenged us, his students, to come up with weekly GOTA (Get On The Air Goals) to challenge ourselves to do more on air with Morse code each week. The GOTA challenge was useful for me as I no longer feel intimidated by operating CW. I feel comfortable with my ability to copy and send at about 18 WPM, enough so that I don’t hesitate to answer any CQs I hear, and I’m also no longer shy about calling CQ myself.
John was assisted this semester by two assisting advisers, Tony VE2KM and Bruce N9WKE. Tony and Bruce presided over break out sessions and came up with copying and sending games, quizzes and challenges for us.
My fellow classmates this semester were Doug K4LSK, Pat AA0O, Steve KC1EJO, and John, AC2SG.

I would highly recommend CW Academy for anyone who is serious about learning Morse Code and is willing to put the time in to do the work over a two month period. The classes are fun, the work is challenging, and the program absolutely works. And, did I mention? It’s FREE! CW Academy is a labor of love of the members of CWops who want to encourage and promote CW and to help us up-and-coming Morse cuckoos to develop good operating skills.
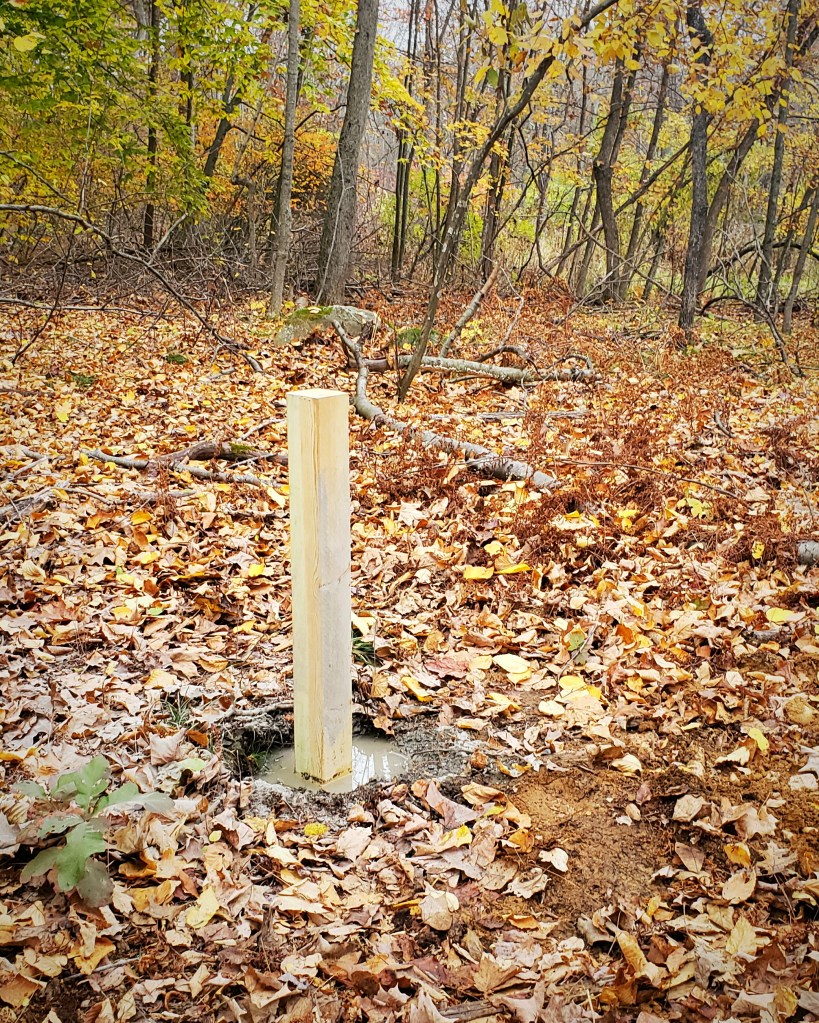
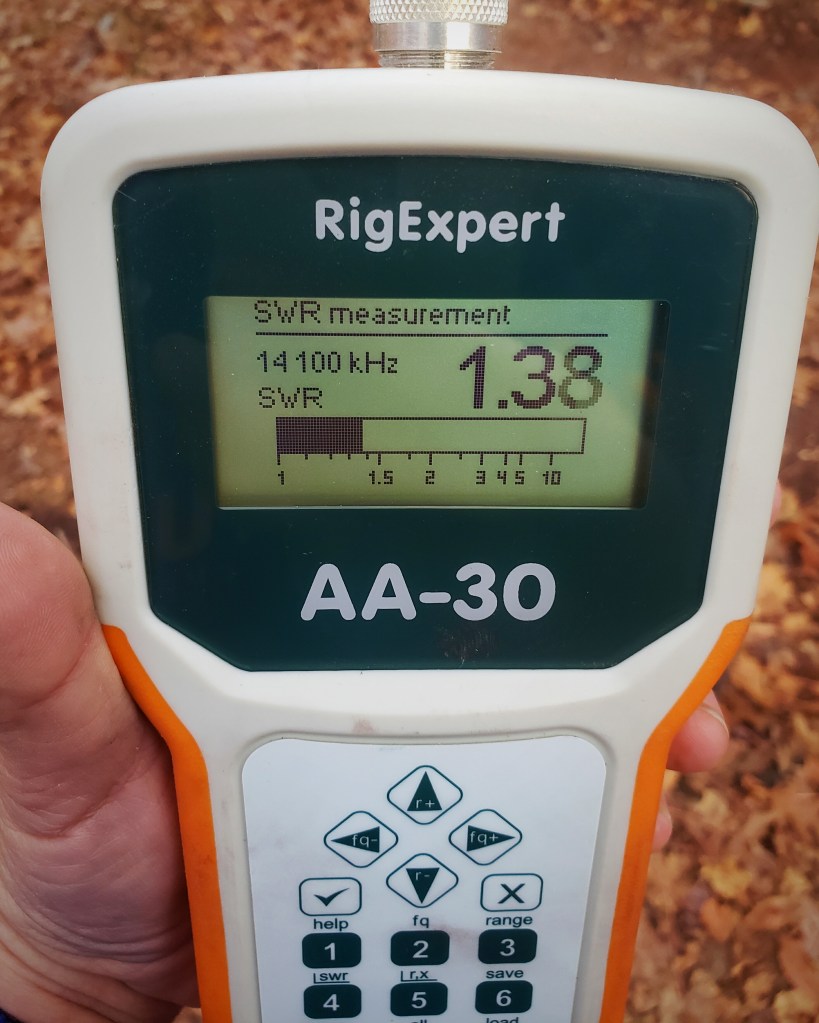
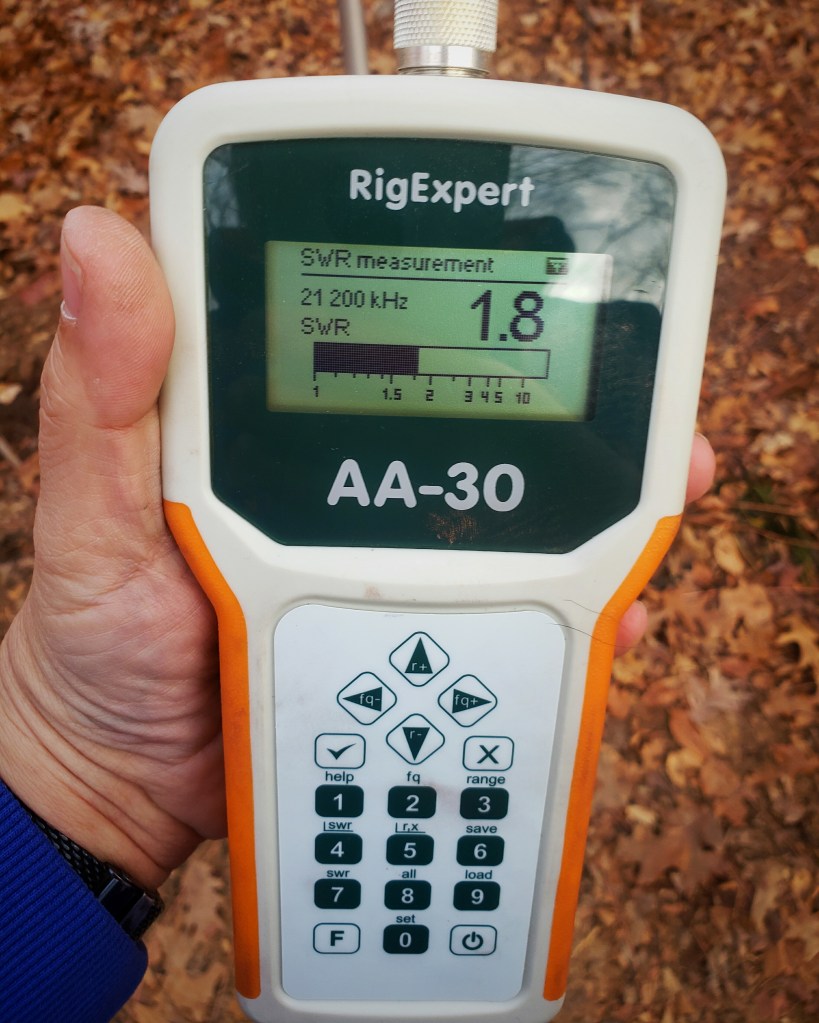
My interest in becoming a good CW operator is so I will be able to get the most out of operating the QRP radios I have built over the years. When operating low power, good copying and sending skills are much more critical. I think I’m getting there.
This past weekend I was leafing through my logbook and realized that everyone of my 2020 QSOs to date have been CW – I haven’t keyed the mic since last year!
Thank you CW Academy!