

Have you discovered the wonder of shopping at Banggood or AliExpress? They are both something of a Chinese version of Amazon.com (in fact the Banggood logo is not at all unlike Amazon’s) – online superstores where you can buy a wide variety of products from electronics to clothes to sporting goods to cellphones to jewelry to automotive parts and so on.


The smiling Banggood and amazon logos
also feature similar color schemes
One can make several arguments – political, risk, quality – for not purchasing from Chinese online vendors, but I can think of two solid arguments why I enjoy shopping there – the wide selection and the low prices.
Both Banggood.com and AliExpress.com sell several DIY (do-it-yourself) electronic kits – such as radio receivers, MP3 players, test bench equipment, digital clocks, ham radio QRP kits and accessories, etc. The variety is fairly large, especially in comparison to what is available these days from US vendors.
When I was a young scrub, Radio Shack sold a popular line of P-Box (perf-box) kits and I pretty much built all of them including the one-tube AM receiver, the indoor/outdoor thermometer, the shortwave receiver, and the “GoofyLight.”

For the last couple of decades before they folded, Radio Shack did not offer electronic kits that required soldering and several other companies that produced DIY electronic kits, such as Heathkit and Ramsey Electronics have now too either gone out of business or no longer sell DIY kits.
While there are still some excellent smaller scale firms producing mostly ham radio oriented kits today (Four State QRP Group, QRPme, Elecraft), the easy availability to basic electronic kits, like the ones I enjoyed building as a child, doesn’t exist today.
Enter our Chinese Friends
In recent years I have purchased a few DIY electronic kits from Banggood and AliExpress. My experience has been mostly a good one – the kits are crazy cheap, but sometimes the quality of the parts has been marginal at best.
Another problem I have had building kits from China is reading the instructions. English instructions aren’t always included, and when they are the translations are horribly fractured.
The ability to read a schematic can be beneficial, but may not be enough. I have attempted to construct Chinese radio kits where the schematic did not match the PC board and/or the parts provided. I have also been been frustrated at times to find key identifiers for parts like transformers are identified only with Chinese characters on the schematic.
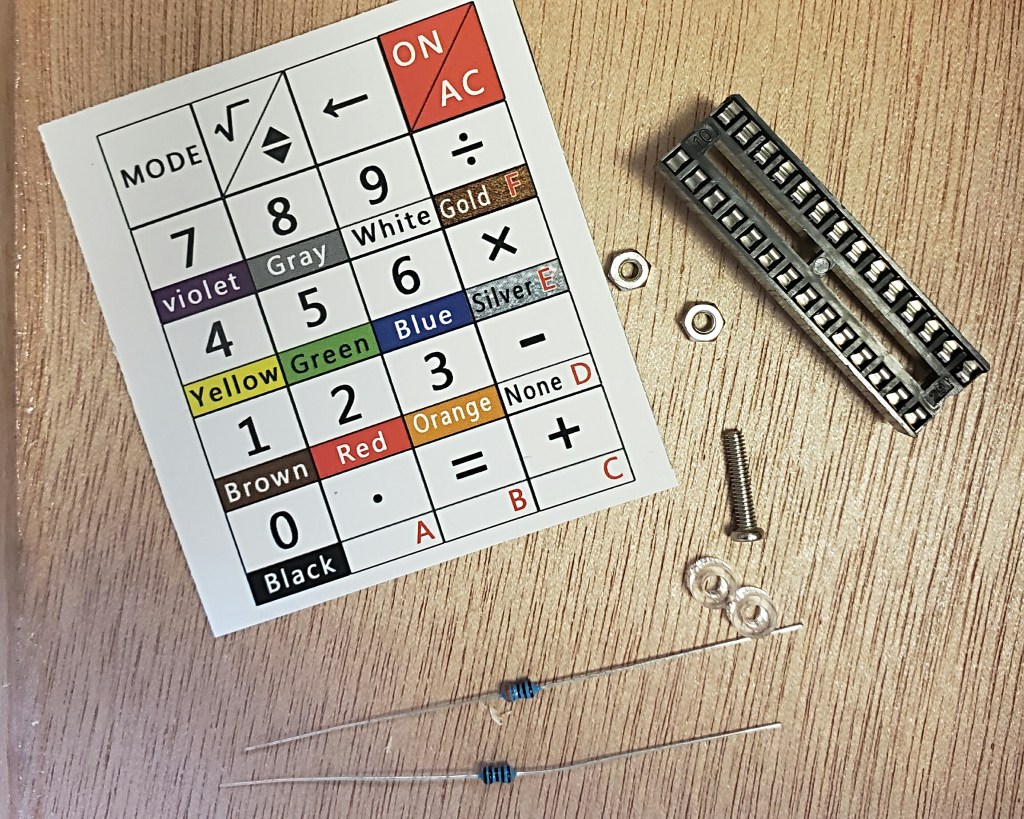
One interesting hack for dealing with a problem with color coded parts such as RF transformers, that I picked up from a shango066 YouTube video, is to reference the resistor color code chart that might be included the instructions. This makes it possible to identify the parts by the Chinese character for the color in order to correctly place transformers on the circuit board.

1 = black, 2 = brown, 3 = red, 4 = orange, 5 = yellow, 6 = green, 7 = blue, 8 = violet, 9 = grey, 0 = white, 5% = gold, 10% = silver.
The Banggood Calculator
Speaking of resistor color codes, what initially attracted me to building this specific calculator kit is that I noticed on the Banggood website that the buttons on this calculator had the corresponding colors of the resistor color code.
The calculator has a mode that will calculate 4 band or 5 band resistor values by entering the color of the rings. (Yes I know that you can easily calculate resistance with the simple table, but this is sort of a cool novelty.)
The calculator has 3 other function modes – basic decimal arithmetic, voltage calculations for LEDs, and decimal-hexadecimal conversion.
I ponied up $13.66 USD and ordered the Geekcreit DIY Calculator Counter Kit Calculator Counter Kit Calculator DIY Kit LCD Multi-purpose Electronic Calculator Electronics Computing with Acrylic Case (yes, that’s the actual product name on the website) along with a few other items to get the total high enough so I could enjoy free shipping. My package arrived on what must have been a not-too-slow-boat-from-China about 2 weeks later.
The Build
One of the great things about this specific kit is that the printed instructions were very good overall and they also included a QR code and the URL for a very well done fully illustrated online step by step assembly guide.


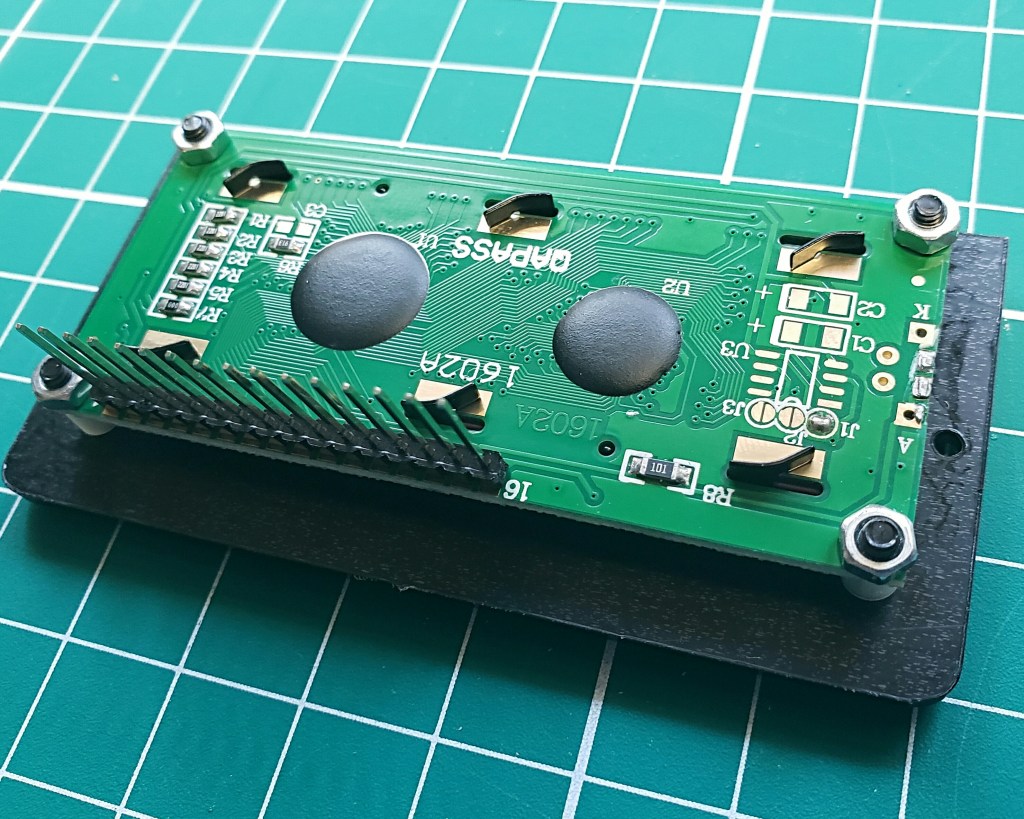


The entire kit took less than 90 minutes to build and I encountered no problems along the way. I did use an ohm meter to confirm the values of the resistors before soldering them in place. The acrylic case went together fairly easily, although aligning the last three screws that hold the LCD in place required a little back pressure with my free hand.
Overall this was an excellent project for a Sunday morning at the workbench and now I have a one of a kind calculator that I can take pride in having built myself.
The only criticism I have about the calculator is that in order to change the two CR2032 batteries, you have to disassemble pretty much the entire acrylic case as there is no battery door. As mentioned above, mounting the LCD screen was a bit fiddly so I hope the batteries exhibit a long enough life.
Overall I would recommend this basic kit for anyone who enjoys building such things.
Have you built any DIY electronic kits from a Chinese online retailer? If so, which ones and what have your experiences been? Please drop me a line at james@ab1dq.com.
©2019 JMSurprenant
