

My second HecKits build was a great experience – just like my first!
I have become a big fan of the HecKits QRP kit line. A few months back, while looking for a modern dip meter kit, I discovered HecKits and ordered their FET Dip Meter. My experience was with that first kit was great in every way. I was impressed by the high quality of the materials and components, the easy to follow directions, the excellent documentation, and the outstanding customer support courtesy of Darrel Heckendorf, the man behind HecKits.
My wife gifted me the HecKits QRP mW meter as a birthday gift this year and I had the time this past weekend to tackle the project.
Once again, HecKits gets the highest marks for its documentation. The construction manual, sent by PDF by Darrel, was comprehensive, easy to follow and full of detailed illustrations. And again, I was very impressed with the high quality of the parts and materials included in the kit. Everything needed to complete the project is included and the fit and finish is unparalleled.
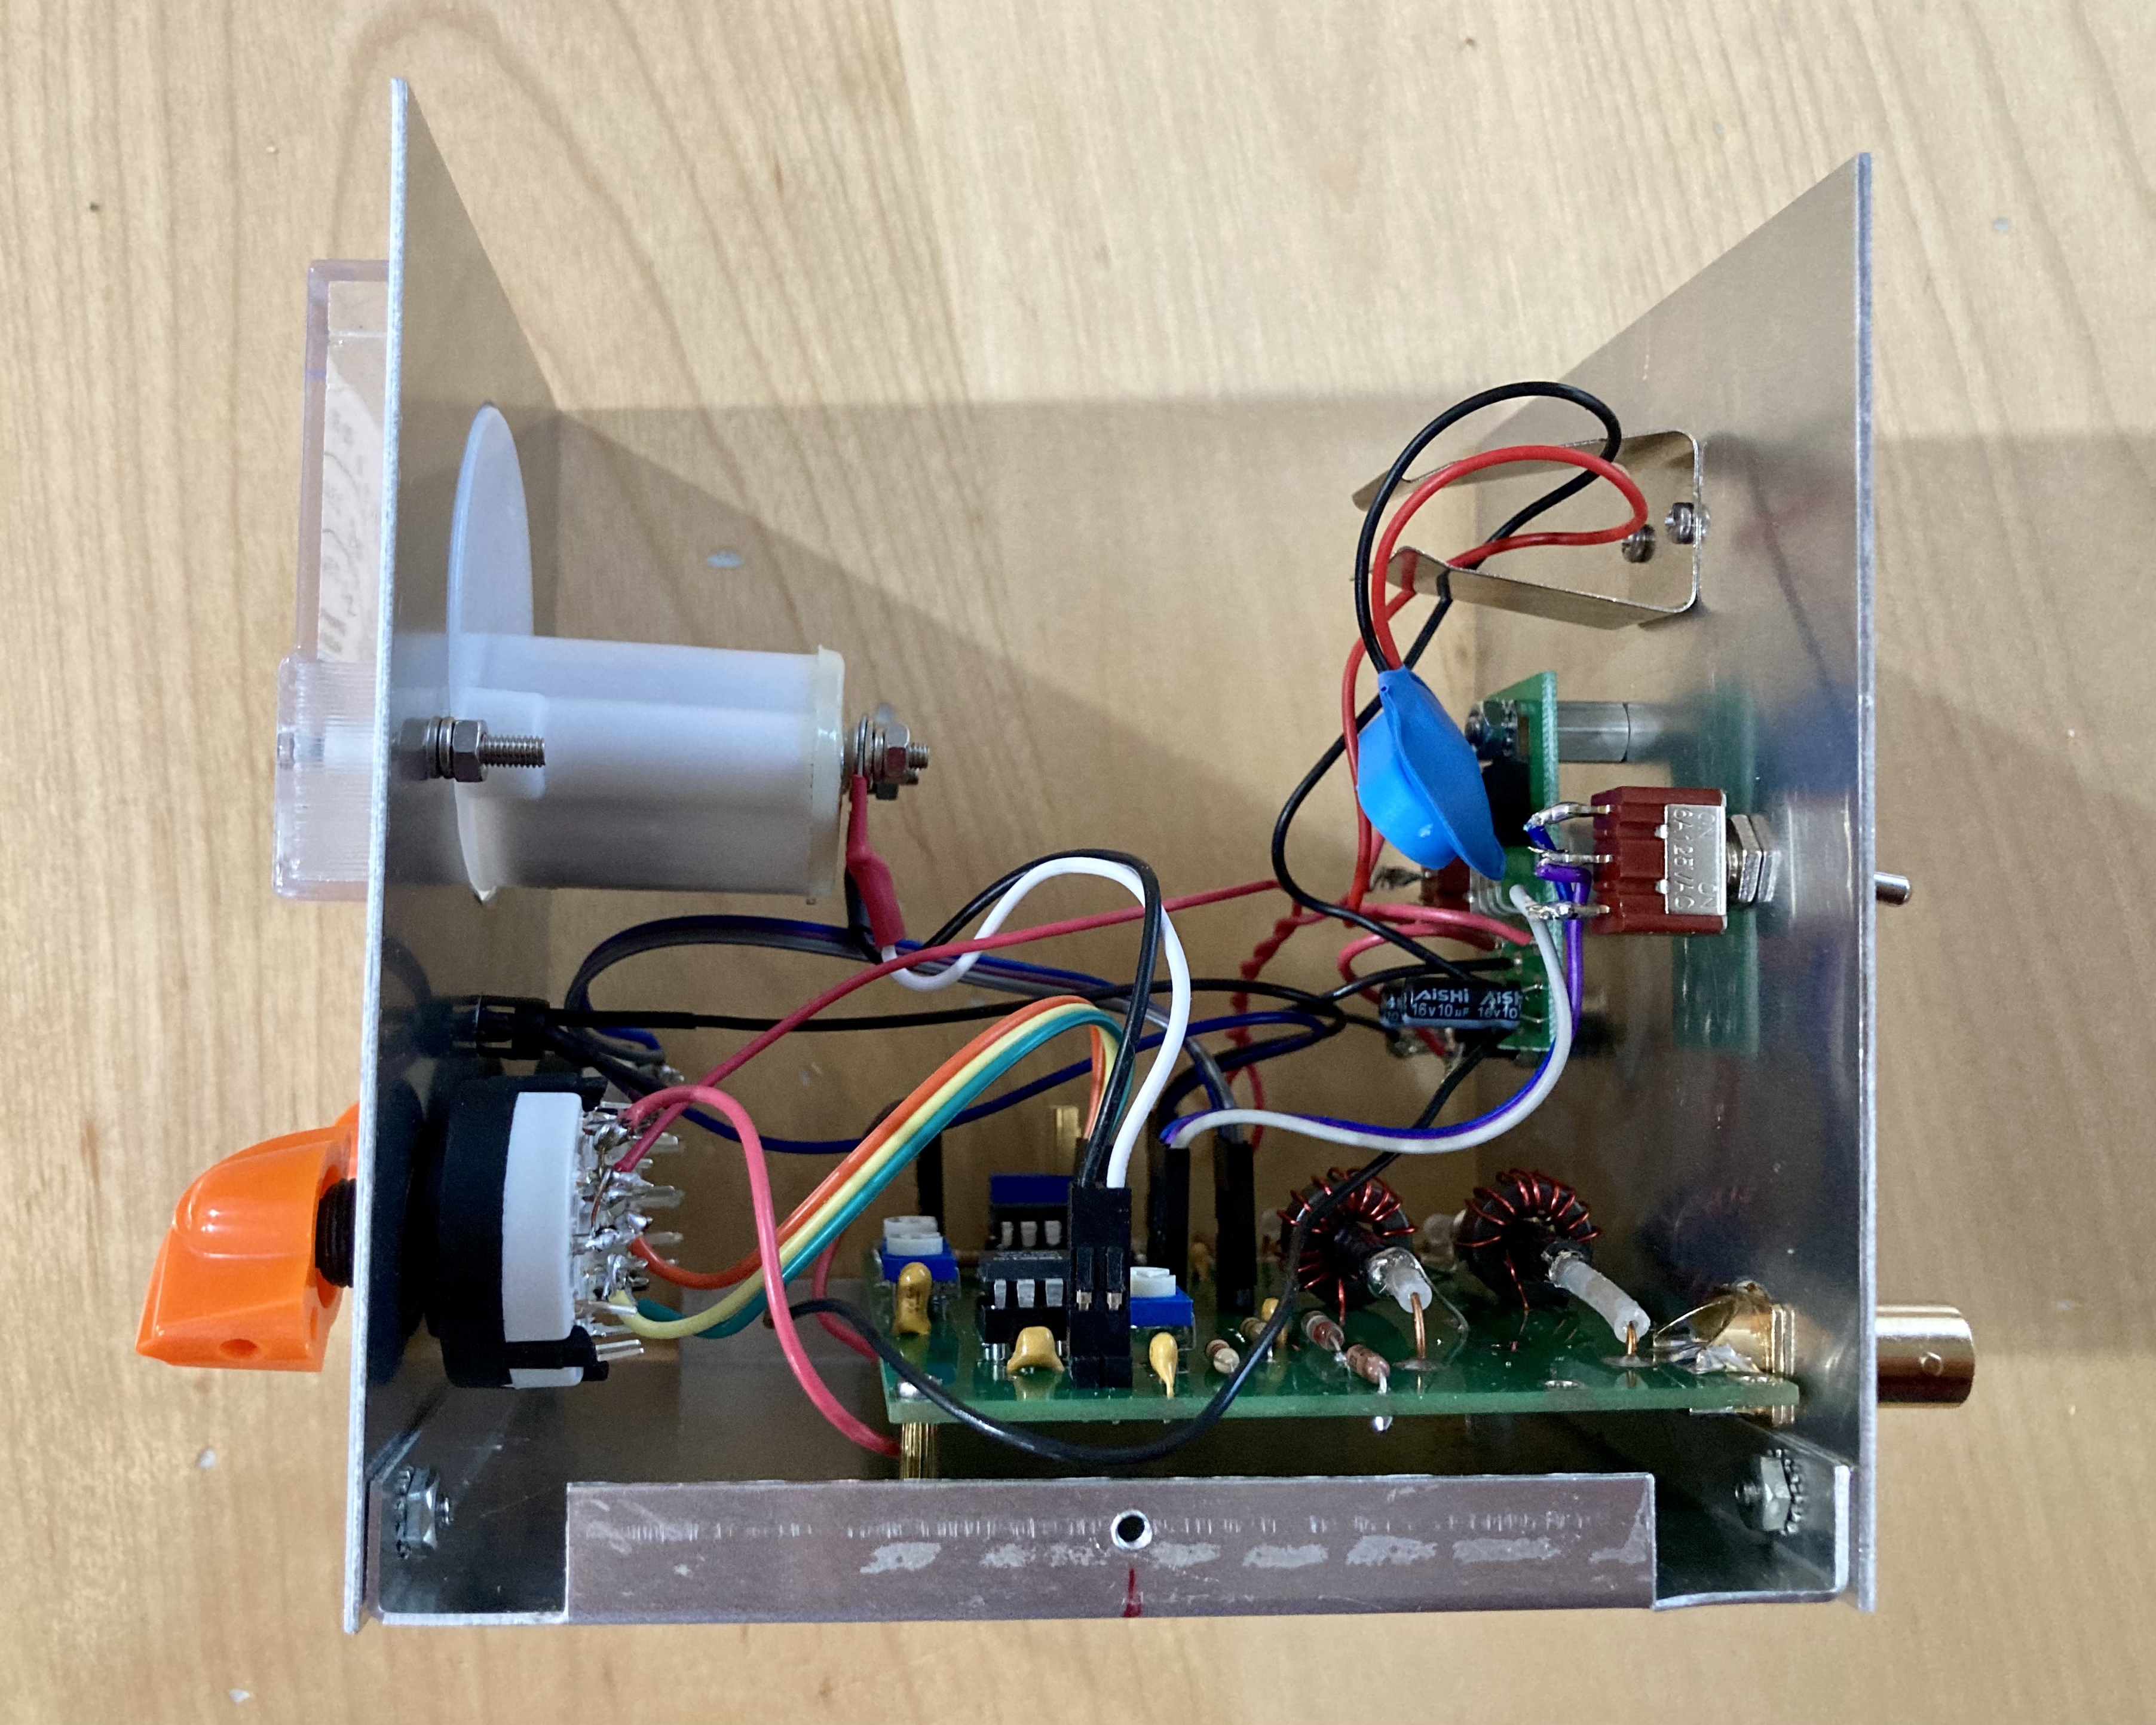
I was very impressed with the screen printed plated through PCB and included in the kit is a handsome precision drilled metal enclosure giving the finished project a professional appearance. While building the meter, I frequently paused to appreciate the high attention to detail that was put into the kit. For example, the manner in which the BNC connectors mate with the PCB and back panel of the enclosure shows precision engineering that went into developing the kit.

I was able to assemble the kit from start to finish in about three hours’ time – and I do work slowly and try to be meticulous in my work. The meter requires the builder to wind two toroids – a task that I never mind – and again the detailed directions would make it nearly impossible for even a novice builder to fail.
I did run into a small glitch, however. When I finished assembling the kit and began the calibration process, I was disappointed to find that the meter was not responding when I first applied power.


I removed the PCB from the chassis to begin troubleshooting. I had assumed perhaps I messed up the polarity on a diode or tantalum capacitor, but quickly discovered the problem was the ham-fisted way I inserted one of the ICs into the DIP socket, smooshing one side of the pins against the socket. I carefully straightened the pins, reinserted the chip and VOILA! All was well.
HecKits gets big props for the calibration process too. All that is required is a precision voltmeter and an RF tuning tool or eyeglass screwdriver. The kit has a multi-turn pot on the PCB that is used to adjust input voltage for calibration purposes. Once the builder sets the input voltage to the specification, the meter is adjusted for full deflection at 10 watts, 1 watt and 100 milliwatts by adjusting the corresponding trimmer pot on the PCB. What a snap!


I do stuff like that – kind of makes my gear unique.
I’m eager to add my new wattmeter to my QRP station and I look forward to my next HecKits build. You can get your own HecKits QRP meter or one of their other fine kits on their website – https://heckits.com/shop-heckits. I highly recommend their products for anyone who enjoys building their own QRP gear.
Have you built a HecKits kit? What was your experience? Please leave a comment or drop me a line at james@ab1dq.com.
Thanks for taking the time to visit my blog!
72 de AB1DQ / James
