
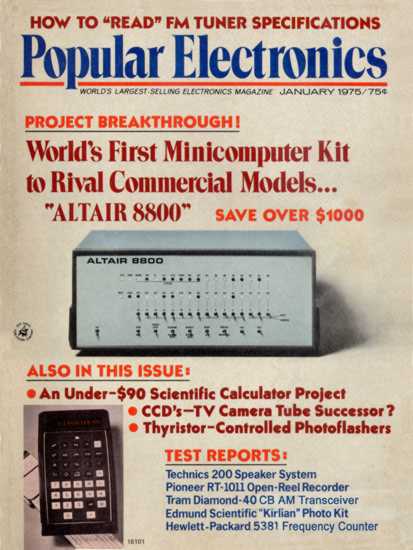
The most exciting and satisfying kit I built in 2018 was the Altair-Duino, an Arduino based emulator of the Altair 8800, the legendary microcomputer designed in 1974 by MITS (Micro Instrumentation and Telemetry Systems) and featured on the cover of the January 1975 issue of Popular Electronics.
Although I was only 9 years old when that issue of PE was published, I remember reading and making photocopies of the article at my local library a few years later.
At such a tender age, I didn’t have any of the resources needed to build my own Altair. It would have taken me two and a half years to have saved up the $439 cost of the kit at my $2/week allowance, and while I had access to my grandfather’s radio and TV work bench, his parts bins contained hundreds of vacuum tubes but hardly any transistors and no computer chips.
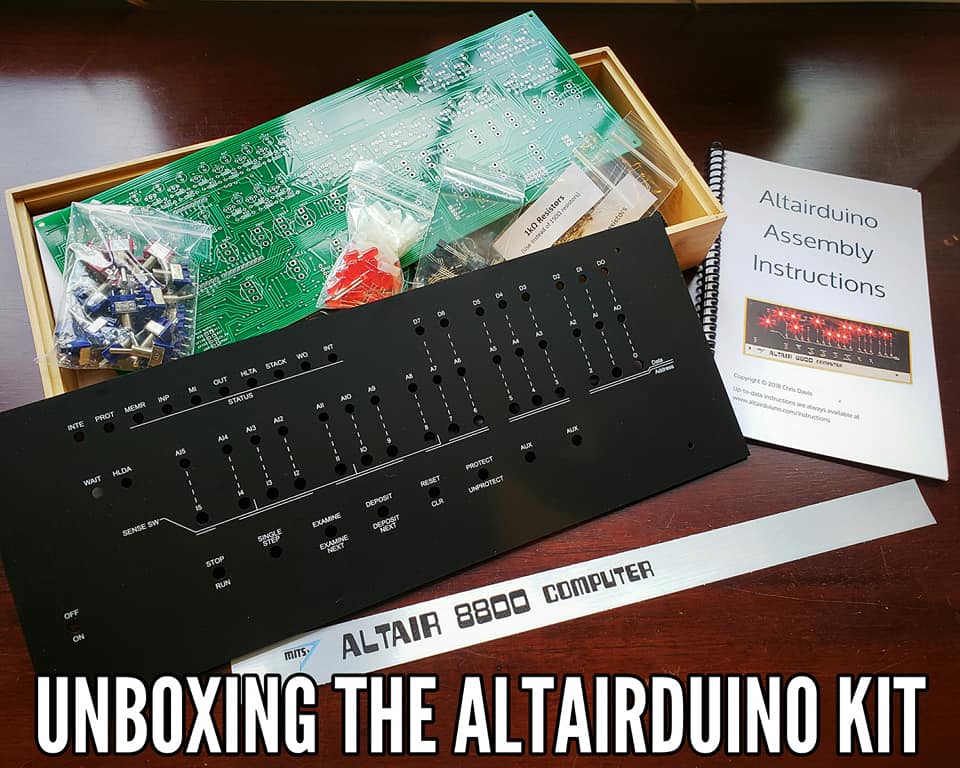
So imagine my excitement when I discovered this year that a modern day emulator was available in kit form. The Altair-Duino kit is offered by KB0WWP, Chris Davies and based on the Altair 8800 emulator project published on hackster.io by David Hansel. The Altair-Duino kit comes complete with a high quality etched PCB, bamboo case, replica face plate, and all components and hardware.
What’s even better is the price – online inflation calculators suggest that the original Altair kit’s $439 price tag would be equivalent to $2,057 in 2018 dollars, but the complete Altair-Duino kit is only $149… WOW!
It is worth mentioning that another modern day Altair emulator option for retro computing fans is Mike Douglas’ Altair 8800 Clone (www.altairclone.com) which is available built for $621 at the time of this writing.
The Build
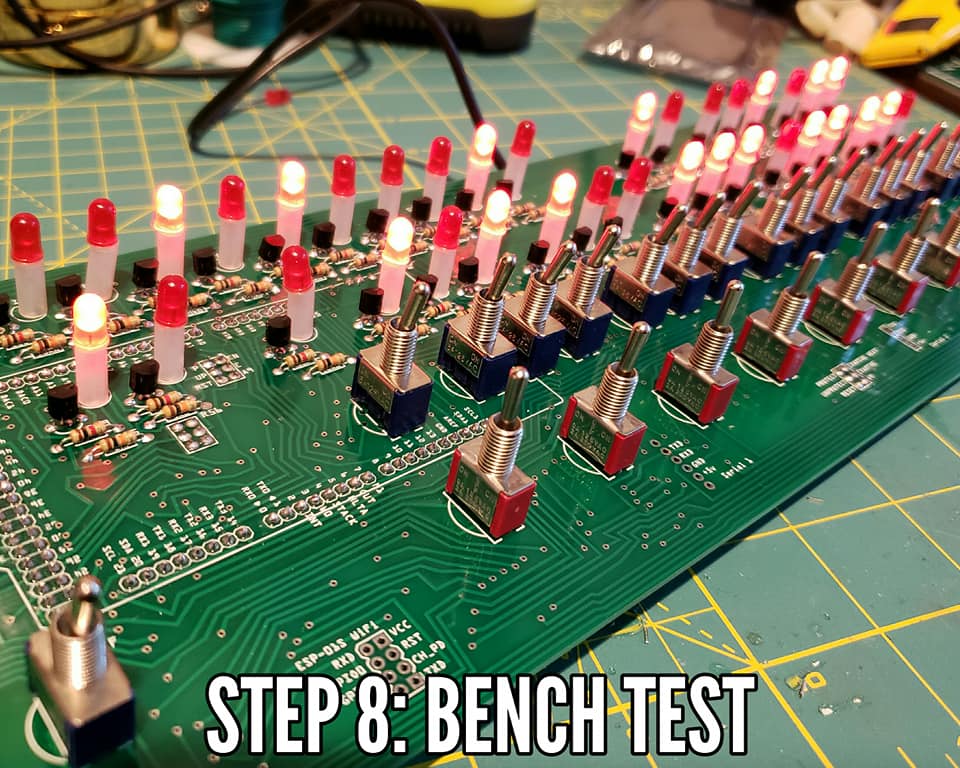
Building the Altair-Duino was straightforward and simple for my kit building skills, which I would rate as proficient. Using the very good documentation found online on the http://www.adwaterandstir.com site I built the complete kit in about 5 hours’ time over two days.
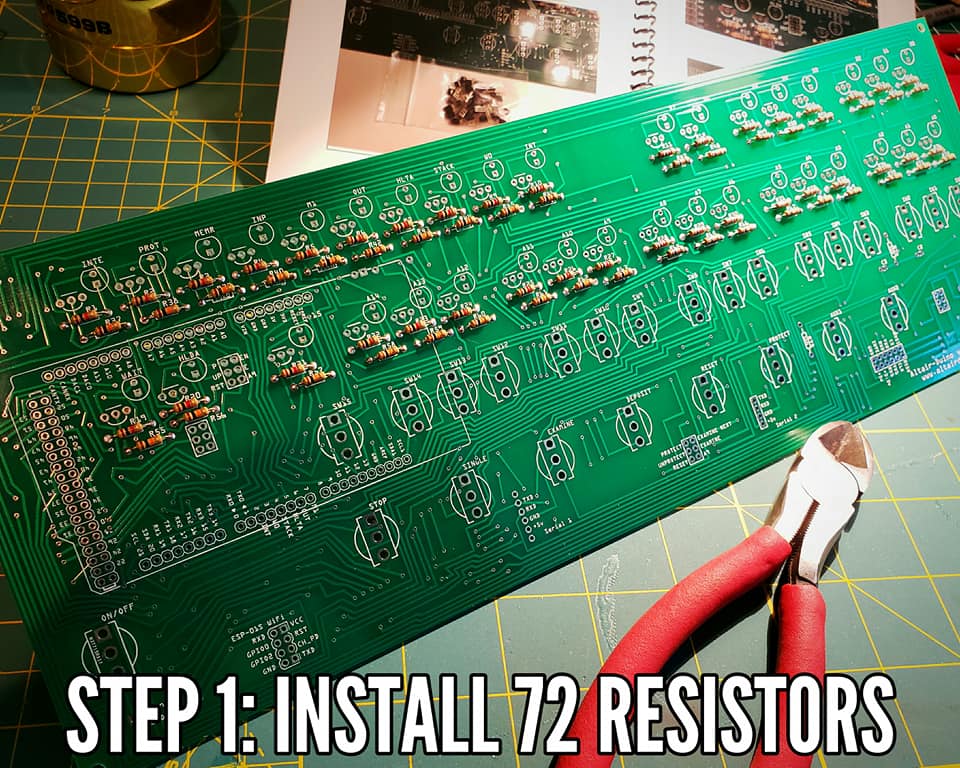
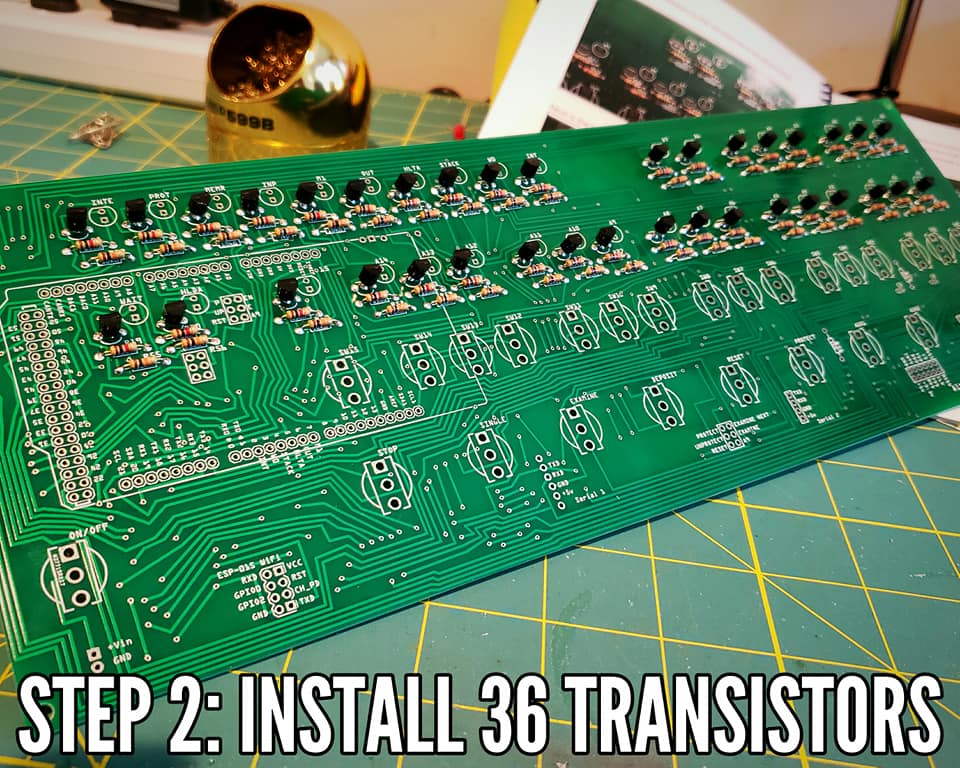
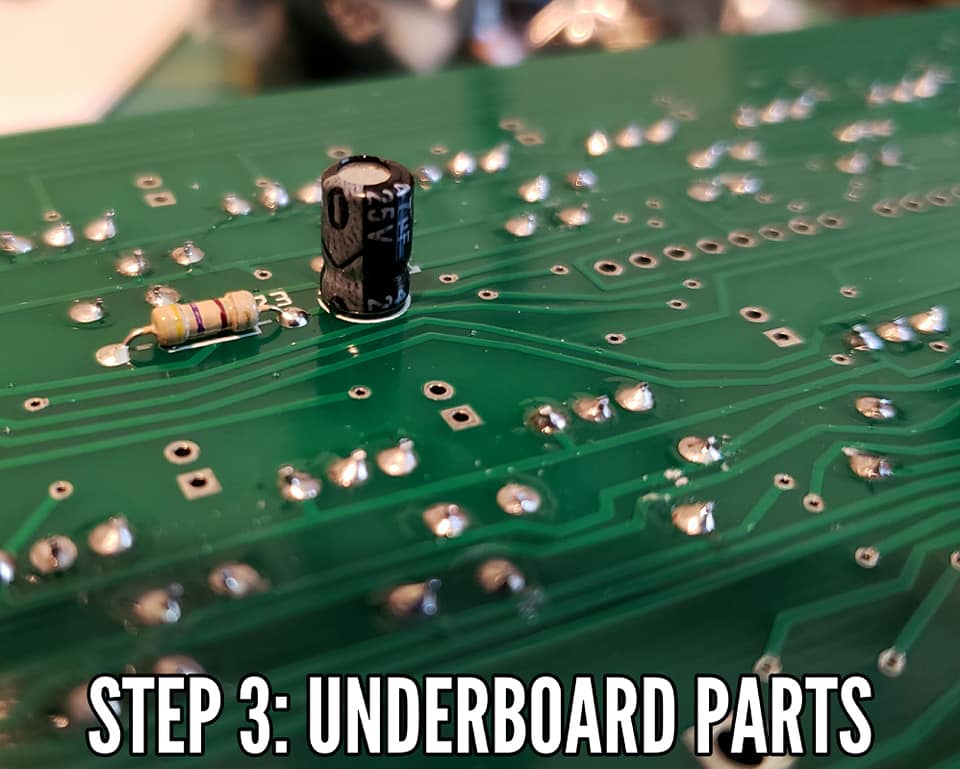
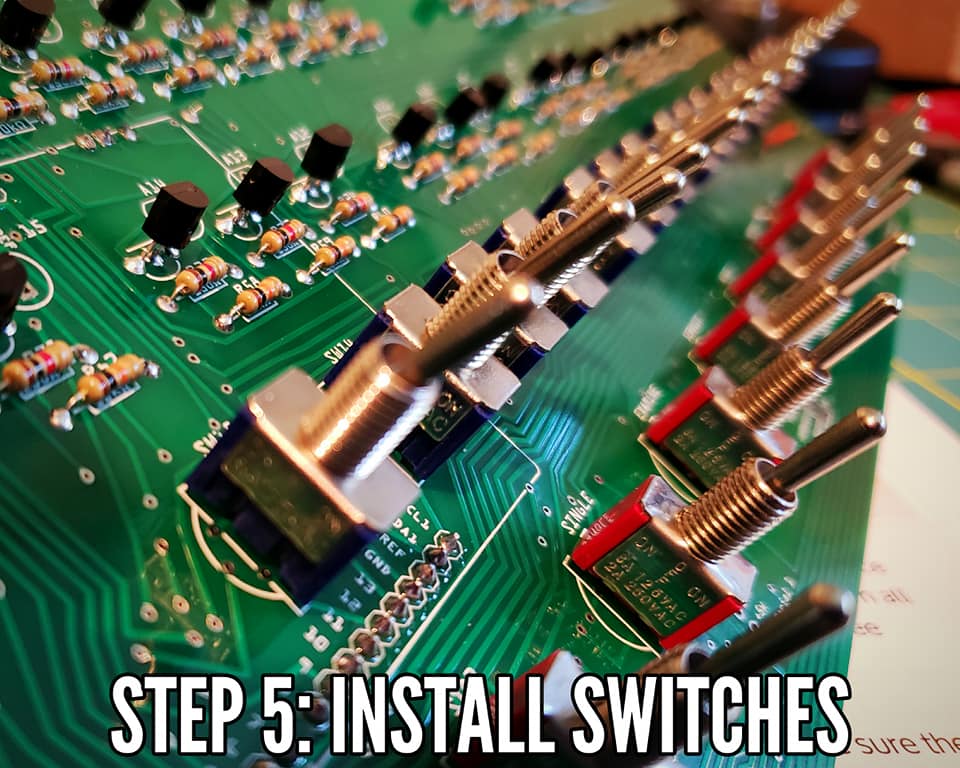
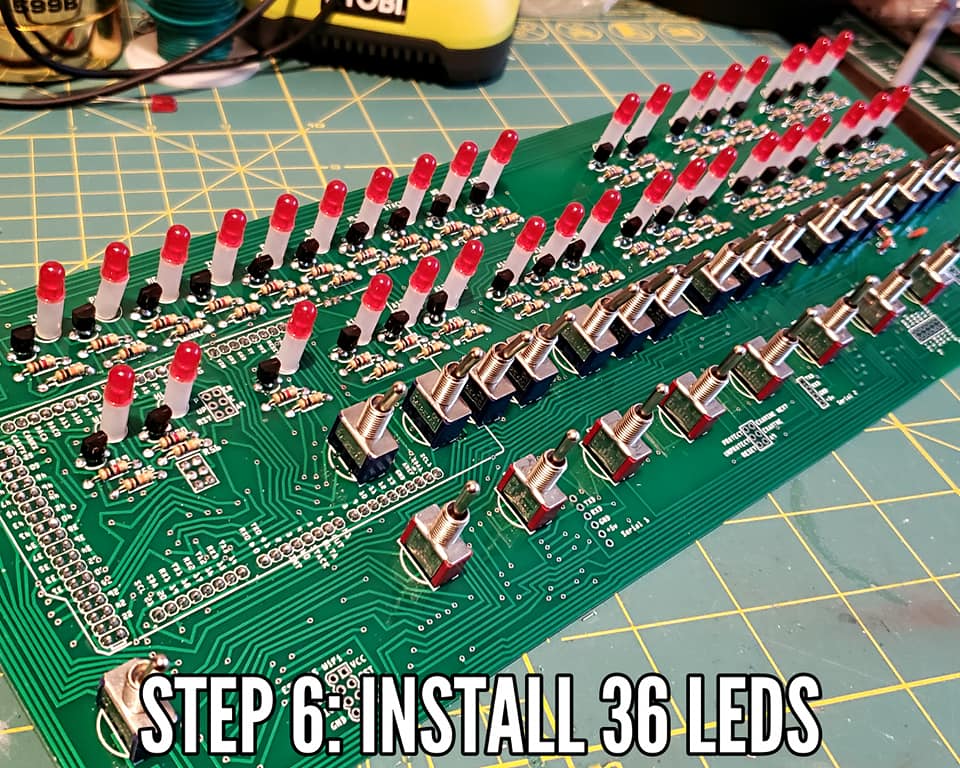
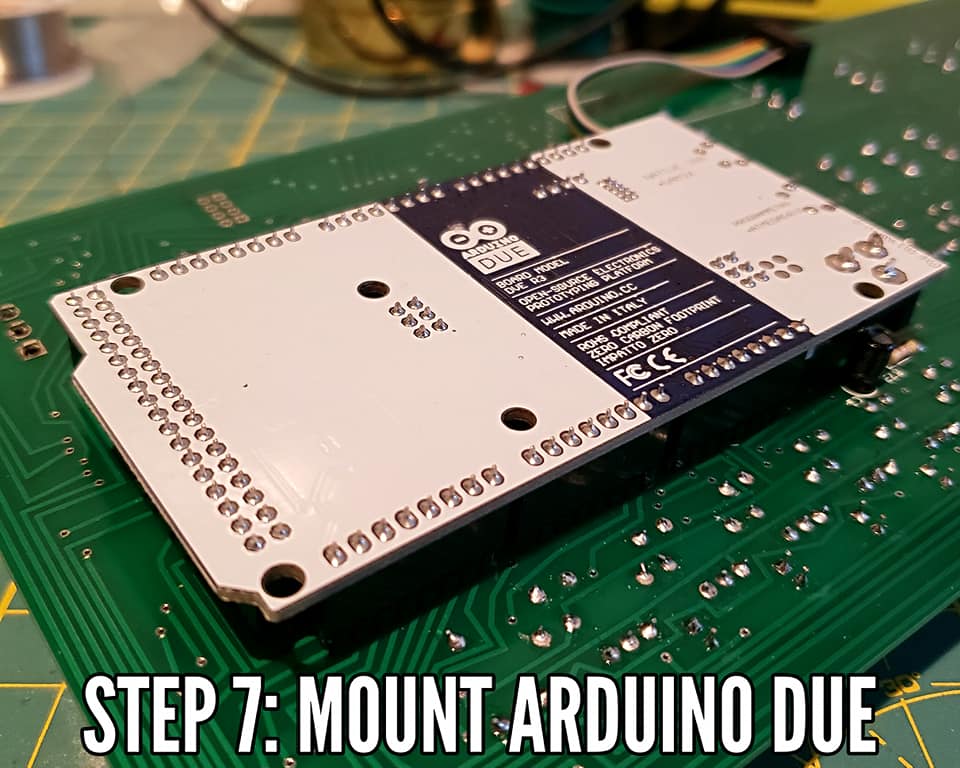
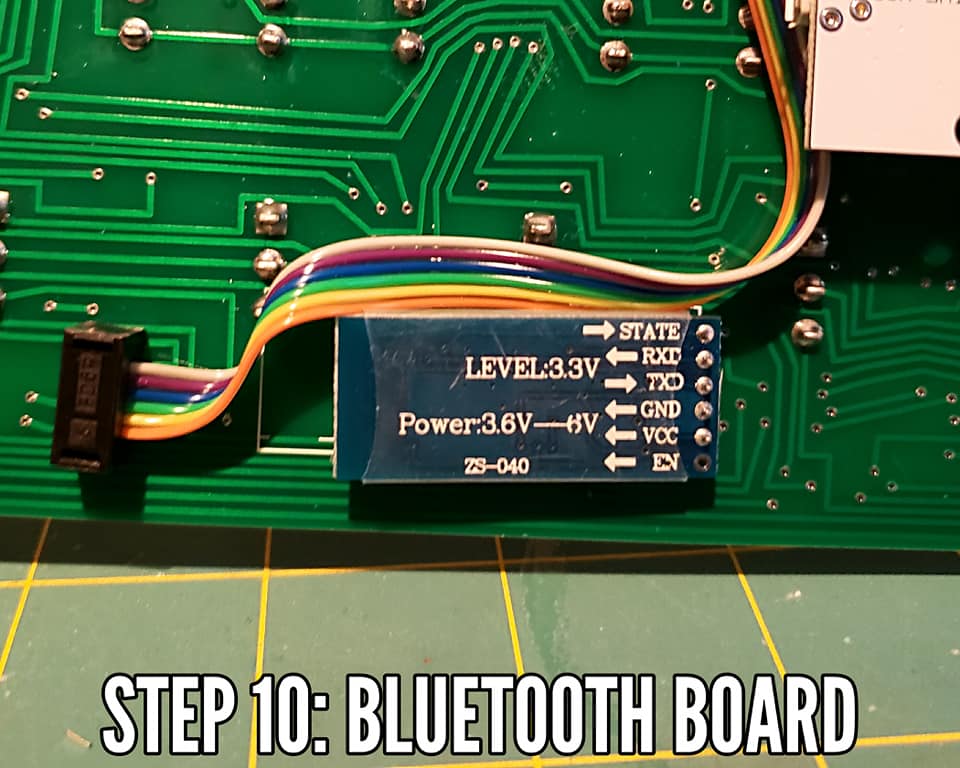
Assembling the kit involves soldering 72 resistors, 36 transistors, 36 LEDs, and 25 toggle switches on the top side of the PCB. The bottom of the board holds the Arduino Due and a Bluetooth board, the SD card, and a few discreet components to regulate the power supply.
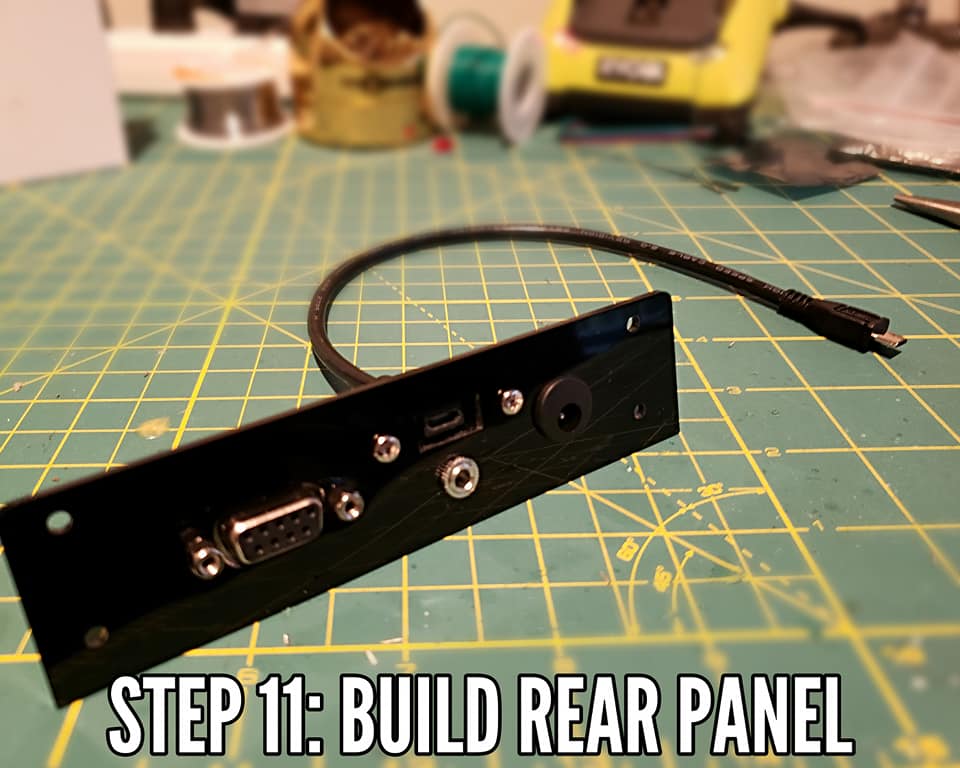
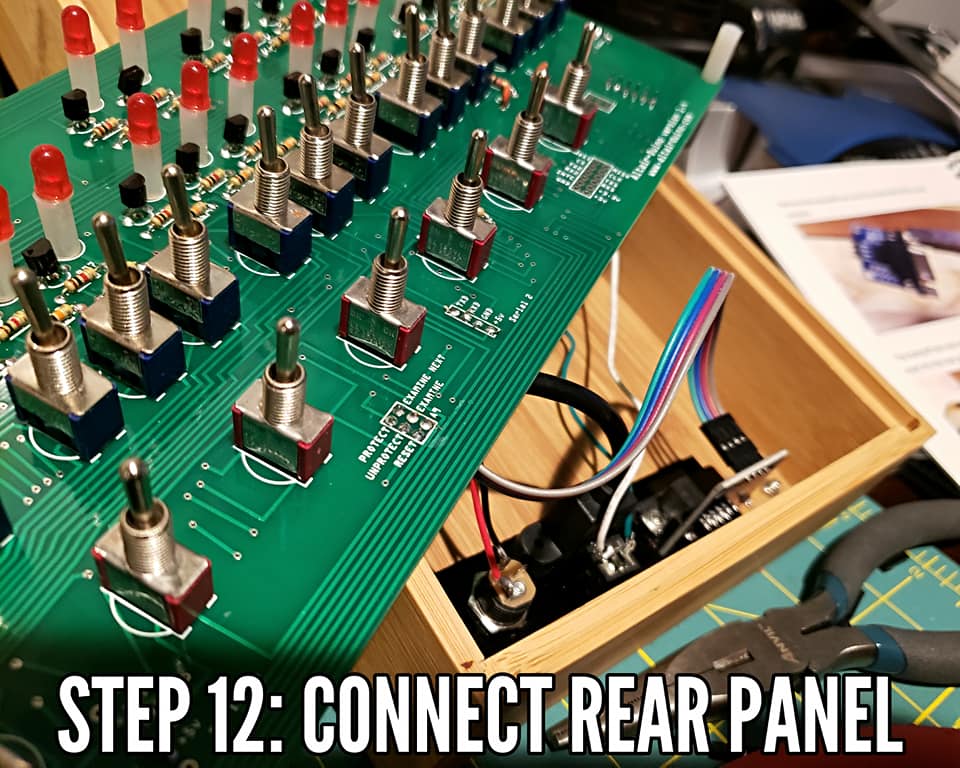
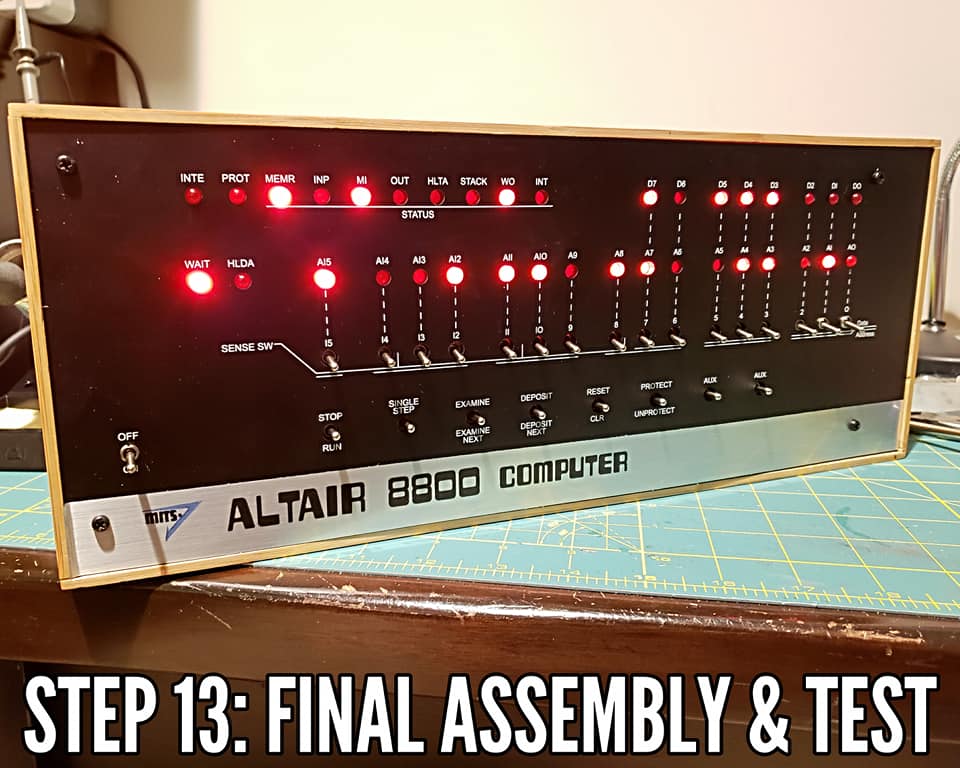
The fit and finish of the kit is exceptionally well done. The beautiful face plate serves as a handy template for properly aligning both the LEDs and the toggle switches when attaching them to the PCB, and the shallow wooden cabinet is pre-drilled for the rear connections panel and has a cut out slot on the backside so the builder can easily access the SD card which comes pre-loaded with the Altair software.


Operations
The Adwater & Stir website has an excellent operations page that includes a link to the original Altair 8800 operations manual which can be used with the Altair-Duino as it is 100% compatible with the original Altair 8800. The operations page also provides easy to follow step-by-step directions that I found easy to follow and useful for instant gratification.
I connected my Altair-Duino to my PC via the USB cable and Windows 10 recognizes the device on COM 4. The Altair-Duino can also be connected via a serial cable or Bluetooth.
Using the recommended terminal program PuTTY, I have had fun experimenting with a couple of the various pre-loaded versions of BASIC: Bill Gates’ 4k Altair BASIC and MITS 16K ROM BASIC, have puttered around with SuperCALC and have enjoyed a nostalgic trip through the Underground Empire of ZORK.
There is much more that can be done with the Altair-Duino and I look forward to experimenting further.
Have you built an Altair-Duino or do you have the Mike Douglas Altair 8800 clone? Did you have an original Altair back in the day? I’d love to hear from you – please comment or drop me a line at ab1dq@protonmail.com.
© 2018 James M. Surprenant
